
Blog · Wedding Planning
How to Set Up a Wedding Guest Camera Station
A wedding guest camera station lets your guests capture candid moments. Here's how to set one up with the right camera, placement, signage, and tech.
· 5 min read · WedPOV Team
Why a Wedding Guest Camera Station Works
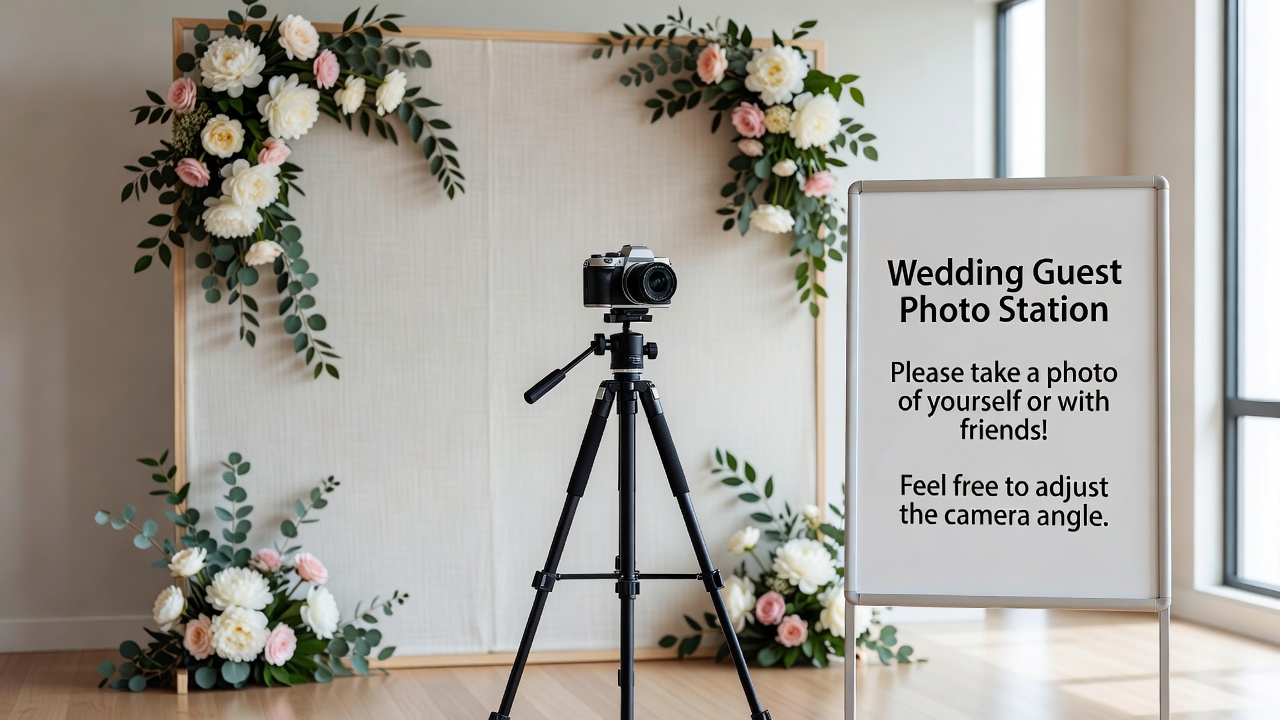
A wedding guest camera station is one of the most memorable additions you can make to your reception. Instead of relying solely on a professional photographer, a well-placed camera station lets your guests document the celebration from their own perspectives. The result is a collection of candid, authentic shots that no single photographer could ever capture.
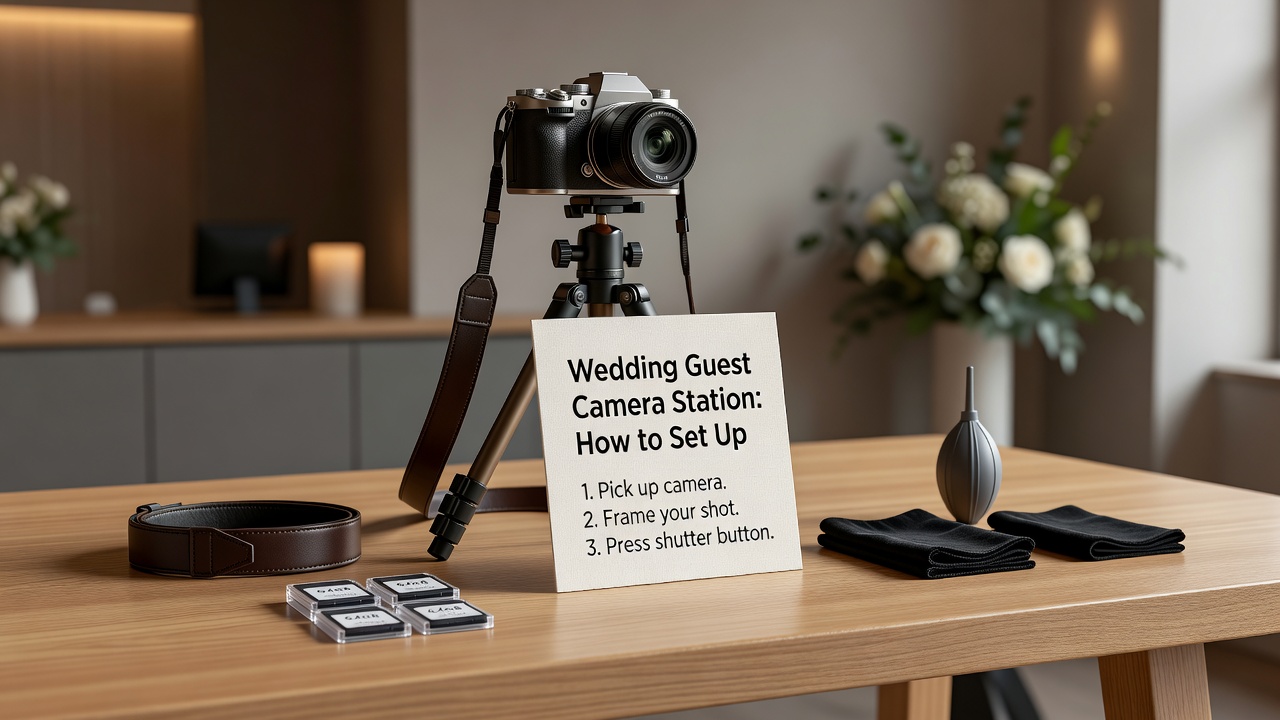
This guide walks you through everything you need: physical setup, signage, placement, and tech requirements so your wedding guest camera station runs smoothly all night long.
1. Choose the Right Camera
The camera is the heart of your wedding guest camera station. You have a few solid options:
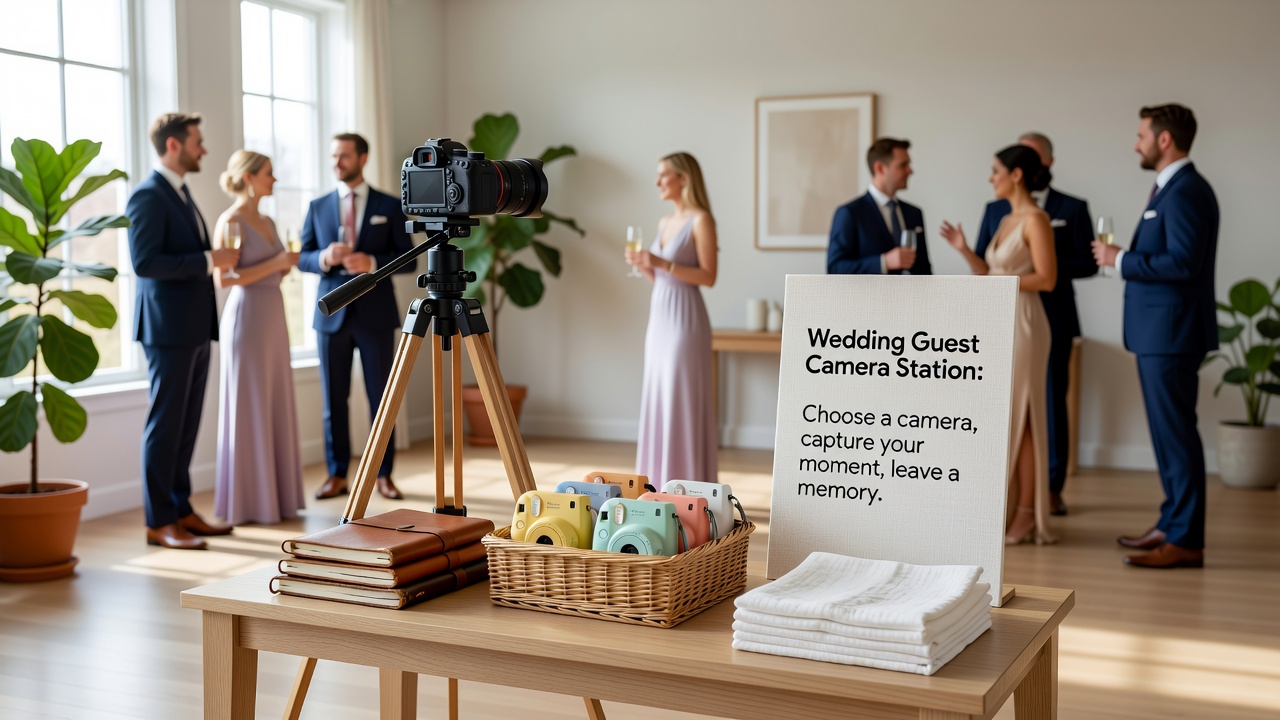
- Instant camera (Polaroid / Instax): Simple, fun, and guests get physical prints on the spot. Downside: film is expensive and limited, so stock up.
- Point-and-shoot digital camera: Easy for anyone to use, stores hundreds of photos, and you get digital files. Look for one with a simple shutter button and auto-everything.
- Disposable film cameras: The classic choice. Place several on each table or at a central station. Budget-friendly and nostalgic, though image quality varies.
- DSLR or mirrorless on a tripod: Best for a fixed station where guests walk up, frame themselves, and press a remote shutter. Highest image quality but needs clear instructions.
For a dedicated wedding guest camera station, a point-and-shoot or a tripod-mounted DSLLR with a remote shutter tends to deliver the most reliable results.
2. Pick the Perfect Spot
Placement can make or break your wedding guest camera station. Here's what to consider:
- Foot traffic: Set up near a natural gathering spot — the bar, the dance floor entrance, or the gift table. Guests will naturally pass by and notice it.
- Lighting: Avoid dark corners. Position the station near a window or under a soft light source. If that's not possible, add a small LED ring light or clip-on light. Good lighting is the single biggest factor in photo quality.
- Backdrop: A simple backdrop — a fabric drape, a flower wall, or even a clean wall — gives photos a polished, consistent look. Avoid cluttered backgrounds.
- Height: Mount the camera at roughly chest-to-eye level for most adults (about 5 feet / 150 cm). If you're using a tripod, make it adjustable so shorter and taller guests can frame themselves comfortably.
- Angle: A straight-on shot is most flattering for guest self-portraits. Slight upward angles work for group shots but avoid extreme downward tilts.
3. Set Up Signage That Actually Works
Signs are what transform a random camera on a table into a proper wedding guest camera station. Without clear signage, many guests won't realize the camera is for them. Here's what you need:
- Main instruction sign: A bold, readable sign that says something like "Snap a photo! Leave the camera for the next guest." Keep it short — no one reads paragraphs at a party.
- How-to card: A small card with 3-4 simple steps: turn on, aim, press shutter, done. Laminate it so it survives spills.
- Shot suggestion sign (optional): A playful list of prompts like "Take a selfie with the bride's dad" or "Photobomb the best man." This encourages shy guests to participate.
- Photo drop-off instructions: If using instant or disposable cameras, tell guests where to leave used film or prints — a labeled basket or box works perfectly.
Place signs at eye level, right next to the camera. Use fonts large enough to read from a few feet away, and make sure the style matches your wedding theme.
4. Sort Out Tech Requirements
Beyond the camera itself, a few technical details keep your wedding guest camera station running without a hitch:
- Tripod: A sturdy tripod prevents blurry shots and keeps the framing consistent. Choose one with a quick-release plate so guests can easily hand-hold the camera if they want to wander.
- Memory and storage: Bring more memory cards than you think you need. A 128 GB SD card is plenty for a full night of point-and-shoot photos. Format the card before the wedding and label spares.
- Power: Charge the battery fully the night before and bring a spare. If your camera supports USB charging, run a power bank as a backup. For a tripod DSLR station, consider an AC adapter if an outlet is nearby.
- Remote shutter: A Bluetooth remote shutter button (the kind that pairs with phones) lets guests trigger a tripod-mounted camera without touching it. Tape the remote to the tripod at arm's height.
- Lens choice (for DSLR/mirrorless): A wide-angle lens (24mm or 35mm equivalent) is ideal for close-up group shots at a station. Avoid telephoto lenses — guests will struggle to frame themselves.
5. Assign a Station Wrangler
Even with great signage, a wedding guest camera station benefits from a designated person who checks on it periodically. Ask a groomsman, bridesmaid, or trusted guest to:
- Make sure the camera stays on and charged
- Clear full memory cards and swap in spares
- Restock film or instant camera packs if needed
- Keep the backdrop and signage tidy
- Encourage guests who are hovering to go ahead and take a shot
A quick check every 30-45 minutes is usually enough.
6. Collect the Photos After the Wedding
Plan the photo collection before the wedding, not after. A few approaches:
- Digital camera: Have your station wrangler hand the SD card to you (or a designated person) at the end of the night.
- Instant cameras: Collect all prints in the labeled basket and scan them later, or create a physical scrapbook.
- Disposable cameras: Gather all cameras, develop them in one batch, and share a digital gallery with guests.
Consider setting up a shared online album (Google Photos, iCloud, or a wedding-specific platform) so guests can upload their own phone photos too — the camera station photos complement these nicely.
FAQ
How much does a wedding guest camera station cost?
A basic station with disposable cameras and signage can cost $50-150. A digital point-and-shoot setup with a tripod, backdrop, and accessories runs $200-400. A DSLR station with a remote shutter and pro lighting can reach $500+.
Can I use a smartphone instead of a camera?
Yes. Mount a smartphone on a tripod, use a Bluetooth remote shutter, and lock the screen to the camera app (Guided Access on iOS or Screen Pinning on Android). Image quality from modern phones is excellent for guest photos.
How do I make sure guests actually use the station?
Clear signage, a fun backdrop, and a designated person to encourage participation are the three biggest factors. Placing the station in a high-traffic area also ensures guests walk past it naturally throughout the night.
Final Thoughts
A wedding guest camera station is a low-effort, high-reward addition to your reception. With the right camera, smart placement, clear signage, and a few tech basics covered, you'll end up with a treasure trove of candid moments that your professional photographer simply can't capture. Plan it ahead of time, assign someone to keep an eye on it, and let your guests do the rest.
Quick answers
- How much does a wedding guest camera station cost?
- A basic station with disposable cameras and signage can cost $50-150. A digital point-and-shoot setup with a tripod, backdrop, and accessories runs $200-400. A DSLR station with a remote shutter and pro lighting can reach $500+.
- Can I use a smartphone instead of a camera?
- Yes. Mount a smartphone on a tripod, use a Bluetooth remote shutter, and lock the screen to the camera app (Guided Access on iOS or Screen Pinning on Android). Image quality from modern phones is excellent for guest photos.
- How do I make sure guests actually use the station?
- Clear signage, a fun backdrop, and a designated person to encourage participation are the three biggest factors. Placing the station in a high-traffic area also ensures guests walk past it naturally throughout the night.