
Blog · Wedding Planning
QR Code Wedding Photo Station: A Couple's Setup Guide
Create a QR code wedding photo station that lets guests share candid reception photos instantly. This step-by-step guide covers platform selection, display design, testing, and day-of execution.
· 5 min read · WedPOV Team
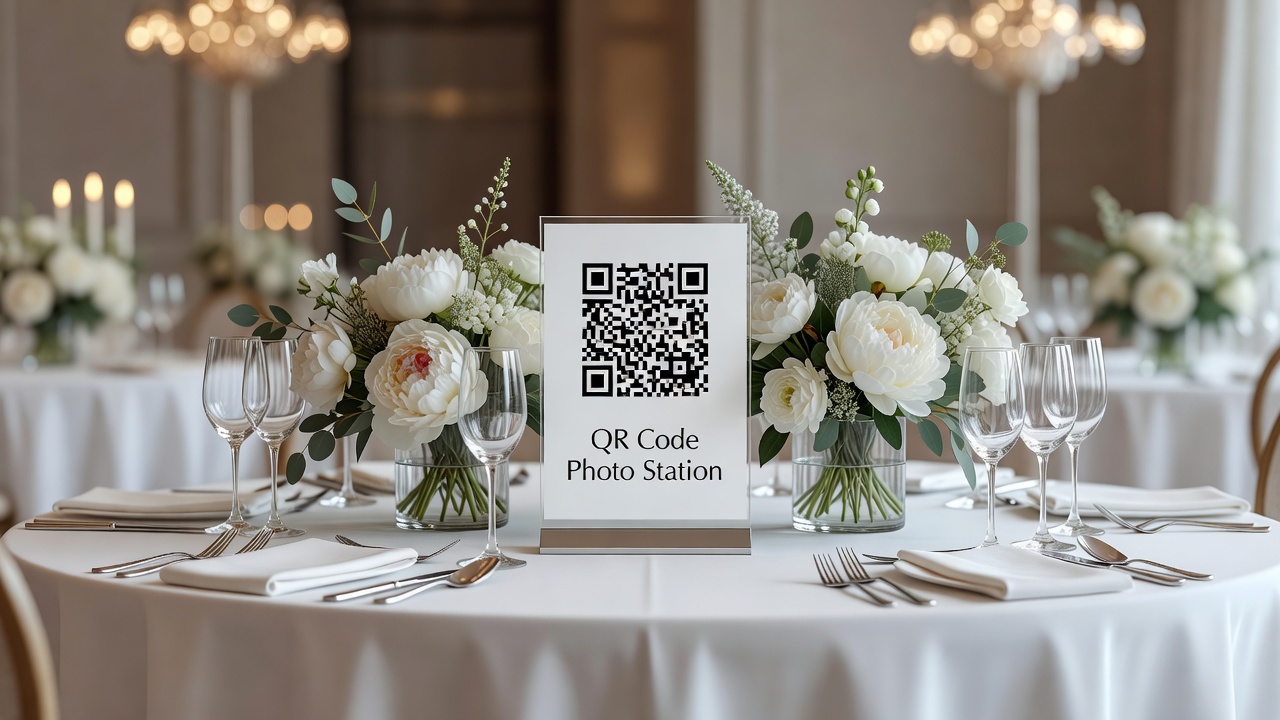
QR Code Wedding Photo Station: A Complete Setup Guide for Couples
Quick Answer: A QR code wedding photo station lets guests scan a code with their phones to upload photos to a shared album instantly. Set one up by choosing a photo-sharing platform, designing clear signage, generating your QR code, testing it thoroughly, and placing it strategically at your reception with simple instructions for guests.
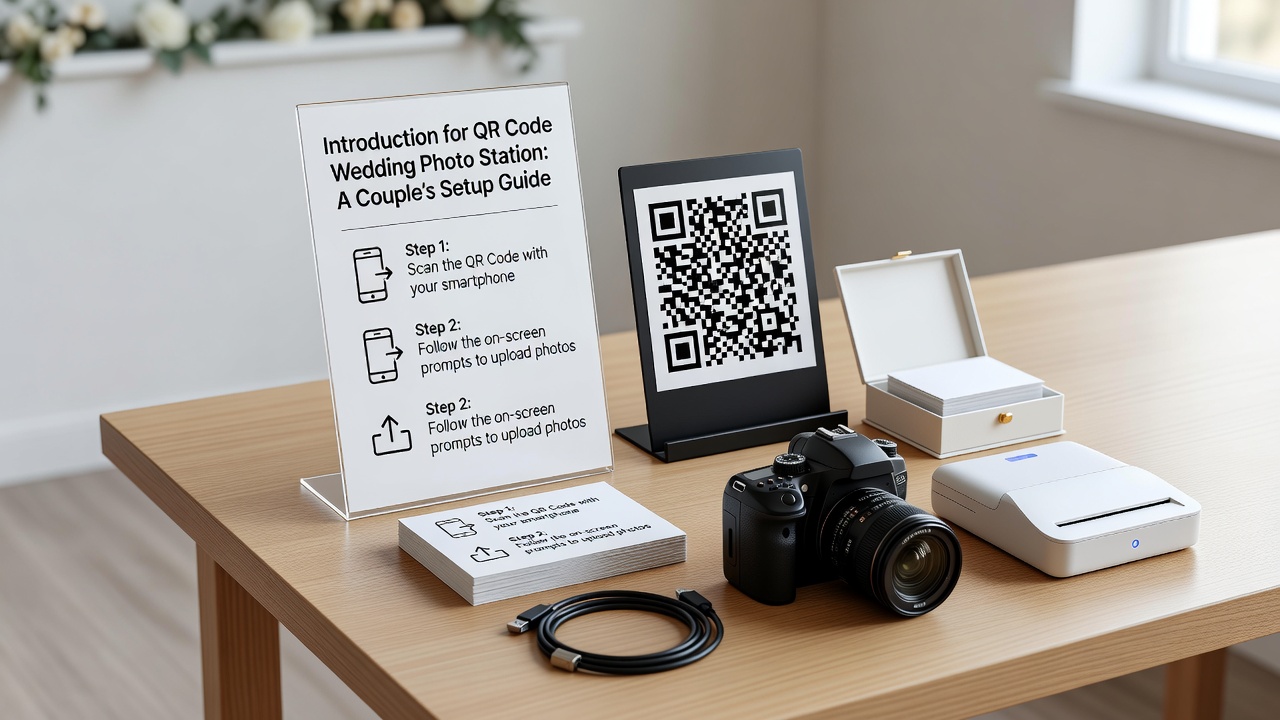
Introduction
Your wedding day flies by in a blur of vows, first dances, and cake cutting. While your photographer captures the big moments, hundreds of candid snapshots happen in between—your grandmother laughing during speeches, your college friends recreating their signature pose, the flower girl chasing bubbles on the lawn. A QR code wedding photo station gives every guest an easy way to contribute these irreplaceable memories to one shared collection.
This guide walks you through building a photo station that actually works. No technical expertise required. No app downloads for guests. Just a smart, simple system that collects every blurry dance-floor selfie and sunset toast.
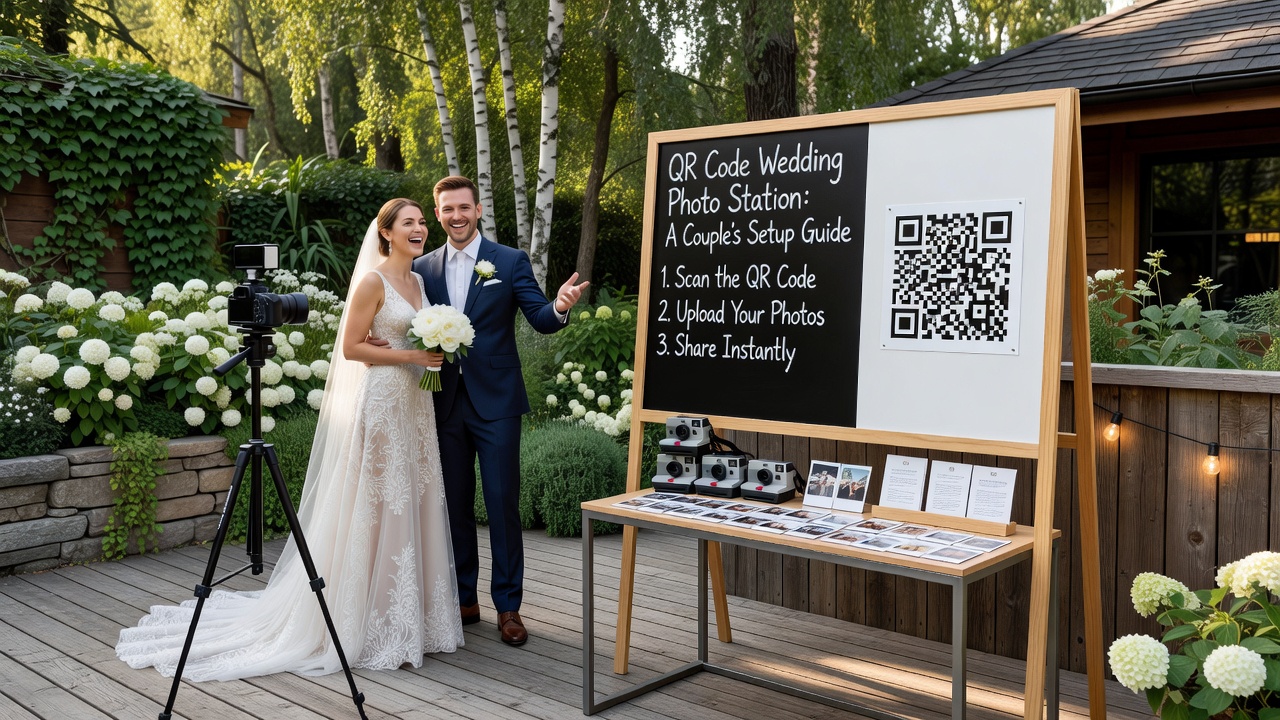
What Is a QR Code Wedding Photo Station?
A QR code wedding photo station is a physical setup at your reception—typically a sign or display featuring a scannable QR code—that lets guests upload photos directly from their phones to a centralized album or gallery. When a guest scans the code with their smartphone camera, it opens a web link where they can instantly upload photos without downloading an app or creating an account.
The concept bridges the gap between professional wedding photography and the thousands of informal shots guests take throughout the day. Instead of chasing people down afterward for Dropbox links and AirDropped files, every photo flows into one place automatically.
Step-by-Step Setup Guide
Step 1: Choose Your Photo-Sharing Platform
Your platform choice determines how guests upload photos and how you access them later. Consider these options:
- Google Photos: Create a shared album and generate a link. Guests upload via the web interface. Free, familiar, and generous storage.
- Dropbox File Request: Set up a folder with a file request link. Guests upload directly without seeing other photos. Clean and organized.
- WedUploader: Built specifically for weddings. Creates a custom upload page with your names and wedding date. Paid but polished.
- The Guest (app-based): Guests download the app and photos sync automatically. Higher friction but captures everything in real time.
Recommendation for most couples: Start with a Google Photos shared album. It's free, works on every phone, and requires zero guest education beyond "scan and upload."
Step 2: Generate Your QR Code
Once you have your album link, turn it into a scannable QR code:
- Copy your shareable album or upload link.
- Visit a free QR code generator (QRCode Monkey, Canva, or Adobe Express).
- Paste your link and select a dynamic QR code if you want to change the destination later without reprinting.
- Download a high-resolution PNG (minimum 1000×1000 pixels for crisp printing).
- Test the code immediately with three different phones (iPhone, Android, older model).
Pro tip: Save your QR code design files in multiple formats. You may want to print welcome signs, table tents, or ceremony programs with the same code.
Step 3: Design Your Display Signage
Your sign does the heavy lifting of explaining the system to guests who may never have used a QR code photo upload before.
Essential elements for your sign:
- A headline that explains the benefit: "Share Your Photos With Us!"
- The QR code itself, centered and large (minimum 3×3 inches for reliable scanning)
- 3–4 word instructions: "Open camera, scan code, upload photos"
- A brief note about what happens next: "All photos go into our wedding album"
- Optional: A sample photo or decorative border matching your wedding aesthetic
Design tools: Canva, VistaPrint, or even Microsoft Word work fine. Keep the background light and the QR code high-contrast (black on white works best).
Step 4: Plan Your Placement Strategy
Where you put your QR code wedding photo station determines how many photos you actually collect.
High-traffic locations to consider:
- Reception entrance: Guests see it immediately upon arrival. Pair with your welcome sign.
- Near the bar or cocktail tables: Natural gathering spot where guests already have phones out.
- Next to the guest book or card box: Captures the traditional-replacement audience.
- On each reception table: Small tent cards ensure every table participates.
- Near the photo booth: Guests already in a photography mindset.
Avoid: Direct sunlight (glare makes scanning difficult), dim corners where phone cameras struggle, and anywhere a guest would need to cross the dance floor to reach.
Step 5: Test Everything Before the Wedding
Testing prevents the embarrassing "this code doesn't work" discovery on your wedding day.
Your testing checklist:
- Scan the QR code with an iPhone camera (no third-party apps).
- Scan with an Android phone camera.
- Upload a photo from each test phone.
- Confirm the photo appears in your album within 30 seconds.
- Test in the same lighting conditions as your reception venue.
- Print a draft sign and scan from 2–3 feet away—the typical guest distance.
- Ask a non-tech-savvy friend or relative to try it without help.
Common issues to catch early: Link permissions set to "view only" instead of "contributor," album set to private, or the QR code linking to an account login page rather than the direct upload interface.
Step 6: Execute on the Wedding Day
Your day-of plan ensures the system runs itself.
Setup timeline:
- Two hours before guests arrive: Print and place all signage. Verify QR codes still scan.
- One hour before: Brief your wedding coordinator, maid of honor, or a trusted friend on how the system works. They become your on-the-ground tech support.
- Ceremony to cocktail hour: Have someone mention the photo station in a welcome speech or printed program.
- Throughout the night: A gentle reminder from the DJ or band between sets boosts participation.
Practical Tips for Success
Lighting Considerations
QR codes need adequate light for phone cameras to focus. If your reception venue uses dim mood lighting, add a small clip-on reading light or LED puck light above your main photo station sign. Test scanning at full reception lighting during your venue walkthrough.
Guest Education Strategies
Not everyone knows how QR codes work. Reduce friction with these tactics:
- Print a tiny diagram: Show a phone with the camera app open and an arrow pointing to the code.
- Verbally mention it: A 10-second plug from the officiant, MC, or a sign at the bar does wonders.
- Have a helper demonstrate: One enthusiastic early adopter showing friends creates a ripple effect.
Backup Plans That Actually Work
Technology fails. Prepare for it.
- Backup QR code: Create a secondary album and print a spare sign. Swap if the primary link breaks.
- Printed URL: Include the direct web address in tiny text below the QR code for manual entry.
- Designated uploader: Ask one tech-savvy friend to collect photos from others via text and upload them manually.
- Professional photo booth: If your budget allows, a staffed photo booth guarantees high-quality shots regardless of guest participation.
Post-Wedding Photo Management
The morning after, your album fills with gems and duplicates. Dedicate 30 minutes to:
- Downloading the full album to your personal storage.
- Removing obviously accidental uploads (pocket shots, screenshots).
- Creating a favorites folder for the best 50–100 images.
- Sharing a thank-you message with contributors via your wedding website or social media.
- A QR code wedding photo station collects guest photos effortlessly into one shared album without requiring app downloads.
- Google Photos offers the best free, low-friction starting point for most couples.
- Your QR code should be large, high-contrast, and tested on multiple devices before printing.
- Strategic placement near bars, entrances, and tables dramatically increases participation rates.
- Always test in your venue's actual lighting conditions and have a printed URL backup ready.
- Designate a tech-savvy friend as day-of support to help guests who struggle with the scan process.
Key Takeaways
Frequently Asked Questions
Do guests need to download an app to use a QR code wedding photo station?
No. If you use a web-based platform like Google Photos or Dropbox, guests simply scan the code with their phone's camera and upload through their browser. No app installation or account creation required.
How large should my printed QR code be?
Print your QR code at least 3×3 inches for reliable scanning from 2–3 feet away. Larger is better if guests will scan from across a table or standing position. Always test the printed size before finalizing your signage.
Can I use the same QR code for multiple events?
Yes, if you generate a dynamic QR code. Static codes link permanently to one URL, while dynamic codes let you change the destination later. This is useful if you want to reuse wedding signage for showers or engagement parties.
What if some guests don't know how to scan a QR code?
Include simple instructions on your sign: "Open your camera app and point it at this code." Consider asking your DJ or officiant to mention it briefly. Having one confident guest demonstrate the process early in the evening encourages others.
Will this replace my professional wedding photographer?
No. A photo station complements professional photography by capturing candid, informal moments your photographer cannot. The two work best together—professionals for posed and key moments, guest uploads for everything in between.
How do I prevent inappropriate photos from appearing in the album?
Most platforms let you review uploads before they appear publicly. Enable moderation settings in Google Photos or Dropbox, or simply monitor the album throughout the evening and remove anything off-brand.
What if the venue has poor cell service?
Ask your venue coordinator about Wi-Fi access for guests. If cell service is spotty and Wi-Fi unavailable, consider a backup plan like a disposable camera table or a designated friend with strong service who collects photos via text throughout the night.
Can I collect videos as well as photos?
Yes. Google Photos and most wedding-specific platforms support video uploads. Mention this on your signage if you want guests to capture short clips of speeches, dances, or candid moments.
Conclusion
A QR code wedding photo station transforms your guests from passive attendees into active memory-makers. The setup takes under an hour, costs little to nothing, and returns hundreds of candid moments no professional could capture alone.
Start with a simple Google Photos album, design a clean sign with your wedding colors, and place it where guests naturally gather. Test twice, brief one trusted friend, and enjoy the flood of photos waiting for you the morning after.
Planning your wedding? Explore our complete library of reception planning guides and tech-savvy wedding ideas to make your celebration unforgettable. [Internal link: related article on wedding reception planning]
Quick answers
- Do guests need to download an app to use a QR code wedding photo station?
- No. If you use a web-based platform like Google Photos or Dropbox, guests simply scan the code with their phone's camera and upload through their browser. No app installation or account creation required.
- How large should my printed QR code be?
- Print your QR code at least 3×3 inches for reliable scanning from 2–3 feet away. Larger is better if guests will scan from across a table or standing position. Always test the printed size before finalizing your signage.
- Can I use the same QR code for multiple events?
- Yes, if you generate a dynamic QR code. Static codes link permanently to one URL, while dynamic codes let you change the destination later. This is useful if you want to reuse wedding signage for showers or engagement parties.
- What if some guests don't know how to scan a QR code?
- Include simple instructions on your sign: 'Open your camera app and point it at this code.' Consider asking your DJ or officiant to mention it briefly. Having one confident guest demonstrate the process early in the evening encourages others.
- Will this replace my professional wedding photographer?
- No. A photo station complements professional photography by capturing candid, informal moments your photographer cannot. The two work best together—professionals for posed and key moments, guest uploads for everything in between.
- How do I prevent inappropriate photos from appearing in the album?
- Most platforms let you review uploads before they appear publicly. Enable moderation settings in Google Photos or Dropbox, or simply monitor the album throughout the evening and remove anything off-brand.
- What if the venue has poor cell service?
- Ask your venue coordinator about Wi-Fi access for guests. If cell service is spotty and Wi-Fi unavailable, consider a backup plan like a disposable camera table or a designated friend with strong service who collects photos via text throughout the night.
- Can I collect videos as well as photos?
- Yes. Google Photos and most wedding-specific platforms support video uploads. Mention this on your signage if you want guests to capture short clips of speeches, dances, or candid moments.